Bringing our miniature worlds to life requires a lot of elements. Houses, streets, lamps, people, animals and much, much more. Those items can be purchased but they're not cheap. Or they can be made if you have the required skills. What can a software engineer like me (who barely knows how to hold a hammer) do in such case? Well, he can use his computer skills to 3D print whatever he wants!
3D printers have become pretty cheap lately. Or at least the Chinese clones have. A promising 3D printer can be bought for less than $200 dollars. And to satisfy my curiosity, I've decided do get such device...
The model I've picked is called Anet A6. It's a very popular printer with a huge and active community of users. It comes as a DIY kit packaged in a medium-sized but rather heavy square box.
The content is not surprising. A lot of mechanical and electrical elements. It all has to be assembled by the user.
It took me almost an entire day to build it. The parts are good quality and fit perfectly BUT the manual is a joke. The assembly is really fun however and it allows you to learn how the printer actually works. Not to mention the feeling of pride when it's finally functional!
And did it work? It worked right away! As soon as I managed to solve some basic issues, I was able to print my first 3D elements. And so it started: boxes, scissors a whistle and other useless stuff...
But this new purchase was supposed to help me with my train layout, wasn't it? So let's see how we can use the printer for that purpose!
It seems we could easily print a street lamp...
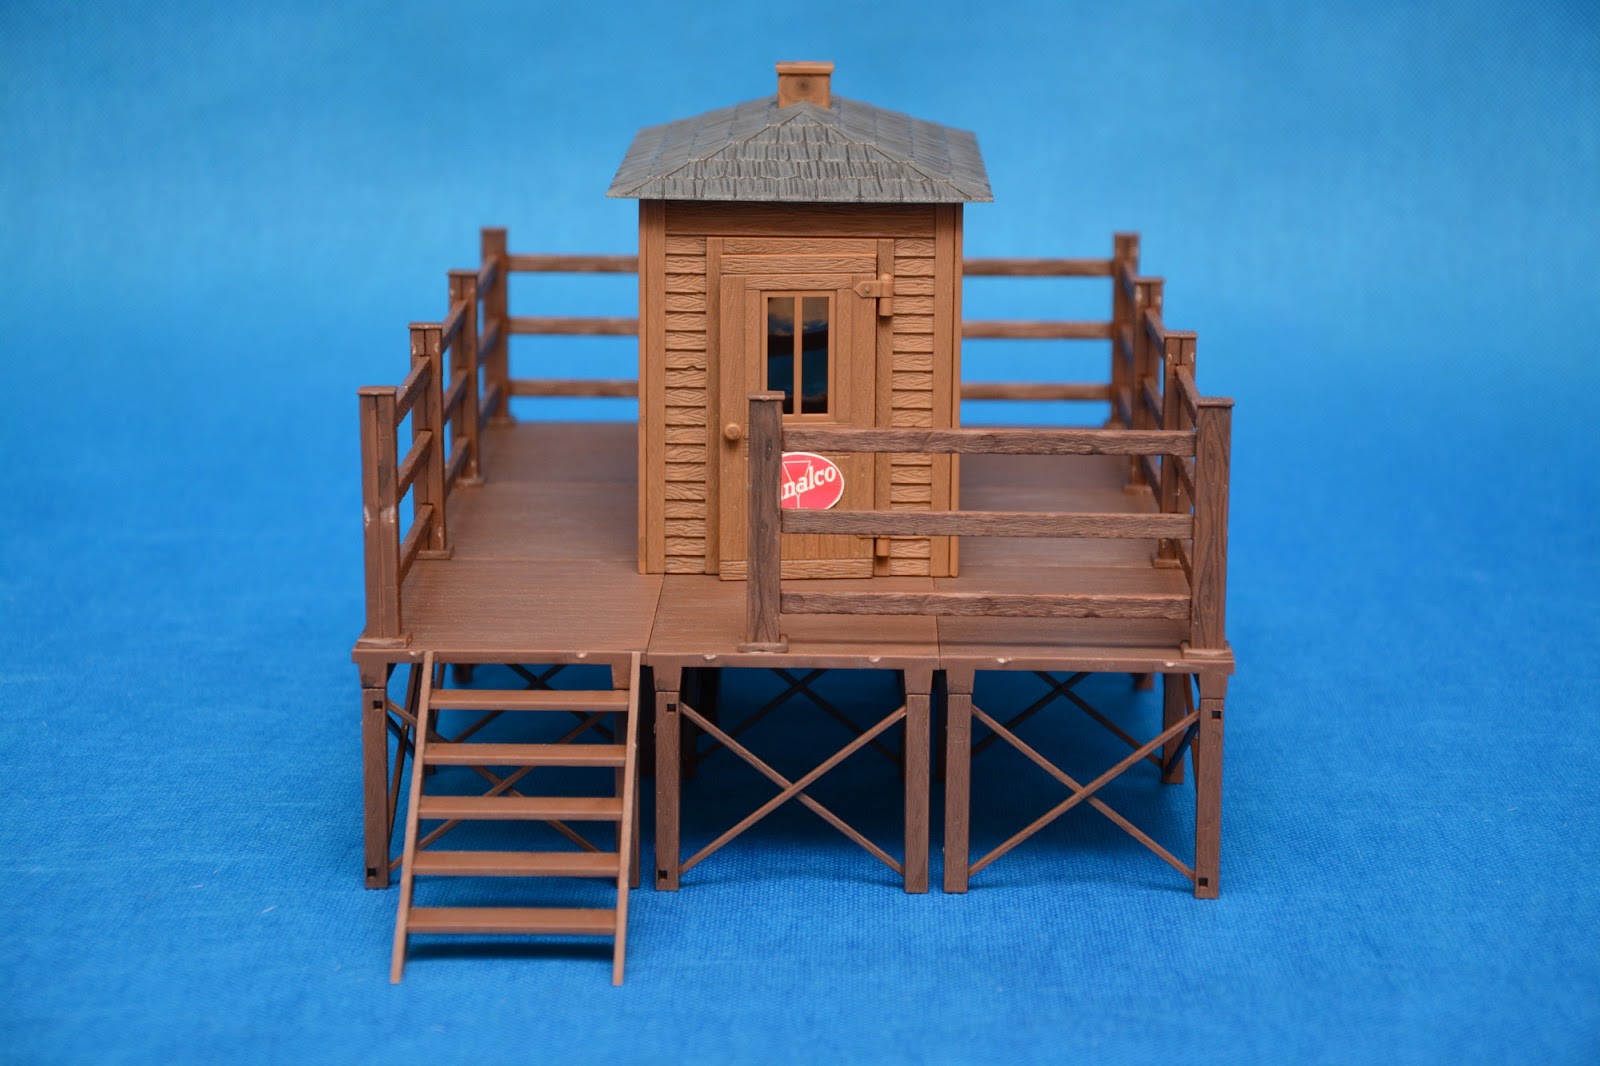
...or an outhouse...
...or a boat for my pond...
...or... anything we can imagine?
My first impression is that the cheap printer is not perfect. It requires learning, attention and maintenance. The print quality however is definitely good enough to support my G-Scale modeling. A smaller scale would require a much more precise device but for large items - Anet has the potential to replace Pola G (at least for basic cases).
This new experience opens also a new field to explore on my blog. I'm not going to stop writing about commercial products but I will be sharing my 3D printing successes (and failures), too. And I hope all of you will enjoy that!
I have previously purchased, reviewed and used a rolling road for my G-Scale models. It's a very useful product, especially for someone who tries to run a train models blog. But of course my webpage is not just about G-Scale and I needed a similar item for my other love - the very small N-scale.
This time I've decided to go for a well-recognized brand. Unfortunately the bigger the name, the higher the price is. My compromise is a product made by a company called DCC Concepts. And the rolling road I decided to buy is an item marked as DCM-RRA6. The Hattons store had it in stock for around £60 which was acceptable considering British Pound's low rate caused by Brexit.
The most advertised feature of this set is its multi-gauge capability. That's why the box contains a collection of elements allowing the modelers to build any rolling road they need. It's even supposed to support the 3-rail Marklin system.
And since we're already mentioning the 3-rail system...The product comes with a small plastic bag which looks like it was added there in the very last moment. The bag contains a piece of metal, three screws and a short wire. I'm not sure yet how to use it (no manual is included) but I bet it has something to do with the Marklin system.
The function of the remaining parts is clear and they allow us to create rolling roads for the following gauges:
9 mm (N)
12 mm (H0n3-1/2)
16.5 mm (HO/OO)
18.6 mm (EM/P4)
The set contains enough elements to build 6 rolling road pieces and that's the limit of what we can have at any time. Any combination is however possible, so one could decide to have - for example - 3 N-scale and 3 H0-scale pieces.
The assembly/disassembly is easy. Each piece consists of a plastic spacer and two double rollers attached using a screw. Once the screw is removed, the roller can be installed on another spacer.
The system is simple and permits quick reconfiguration BUT I've noticed it has a disadvantage, too. It's based on metal screws going into plastic parts. Such solution will sooner or later damage the threads inside the spacers and will render the parts unusable. I've actually seen small particles of plastic coming out when unscrewing the elements for the very first time. In other words - I would not recommend changing the configuration very often.
But as long as it works, we can create pieces of any gauge we want...
Let's go back to the mysterious plastic bag for a moment. It is indeed meant for the 3-rail system. And I suspect the solution proposed by the manufacturer is something like this (but still can't be sure, since the manual is nowhere to be found).
My focus however is the N-scale and the Kato Unitrack. For this case the DCC Concepts product works perfectly without the need for any extra tricks.
So how does it perform? I've tried the system with most of my N-scale stock and it worked with every single piece. Not every locomotive is however 100% compatible. For example - any engine featuring small details around its wheels has a chance of not fitting perfectly. It does not break the functionality of the rolling road, since it still works, but I would be careful and always check how the items position themselves together.
One of my locomotives had some contact issues BUT it was the one which always required a very, very clean track. I would not blame the DCC Concepts set here, since every other engine worked perfectly.
I've also discovered something new. When making a video for this post, I wanted to shoot a cool scene with my longest steam engine running on the rolling road. To my surprise, the locomotive turned out to be driven by only two axles and the final movie shot is really not what I wanted. But it only proves how useful this item is for anyone who wants to learn more about their collection.
Christmas season is a happy period for most of us. Not only you get a break from work and can spend more time with your family but you can also expect a nice surprise under the Christmas tree. In Polish culture there are two opportunities to be honored by Santa Claus. The first one is on December 6th and that's when I was presented with a new model of a G-Scale truck. I must have behaved very well this year :)
The product I received comes in a very sturdy box with a completely transparent front. This makes the car very well visible to the buyer. If you were to pick it up at a store, you'd know exactly what you are buying.
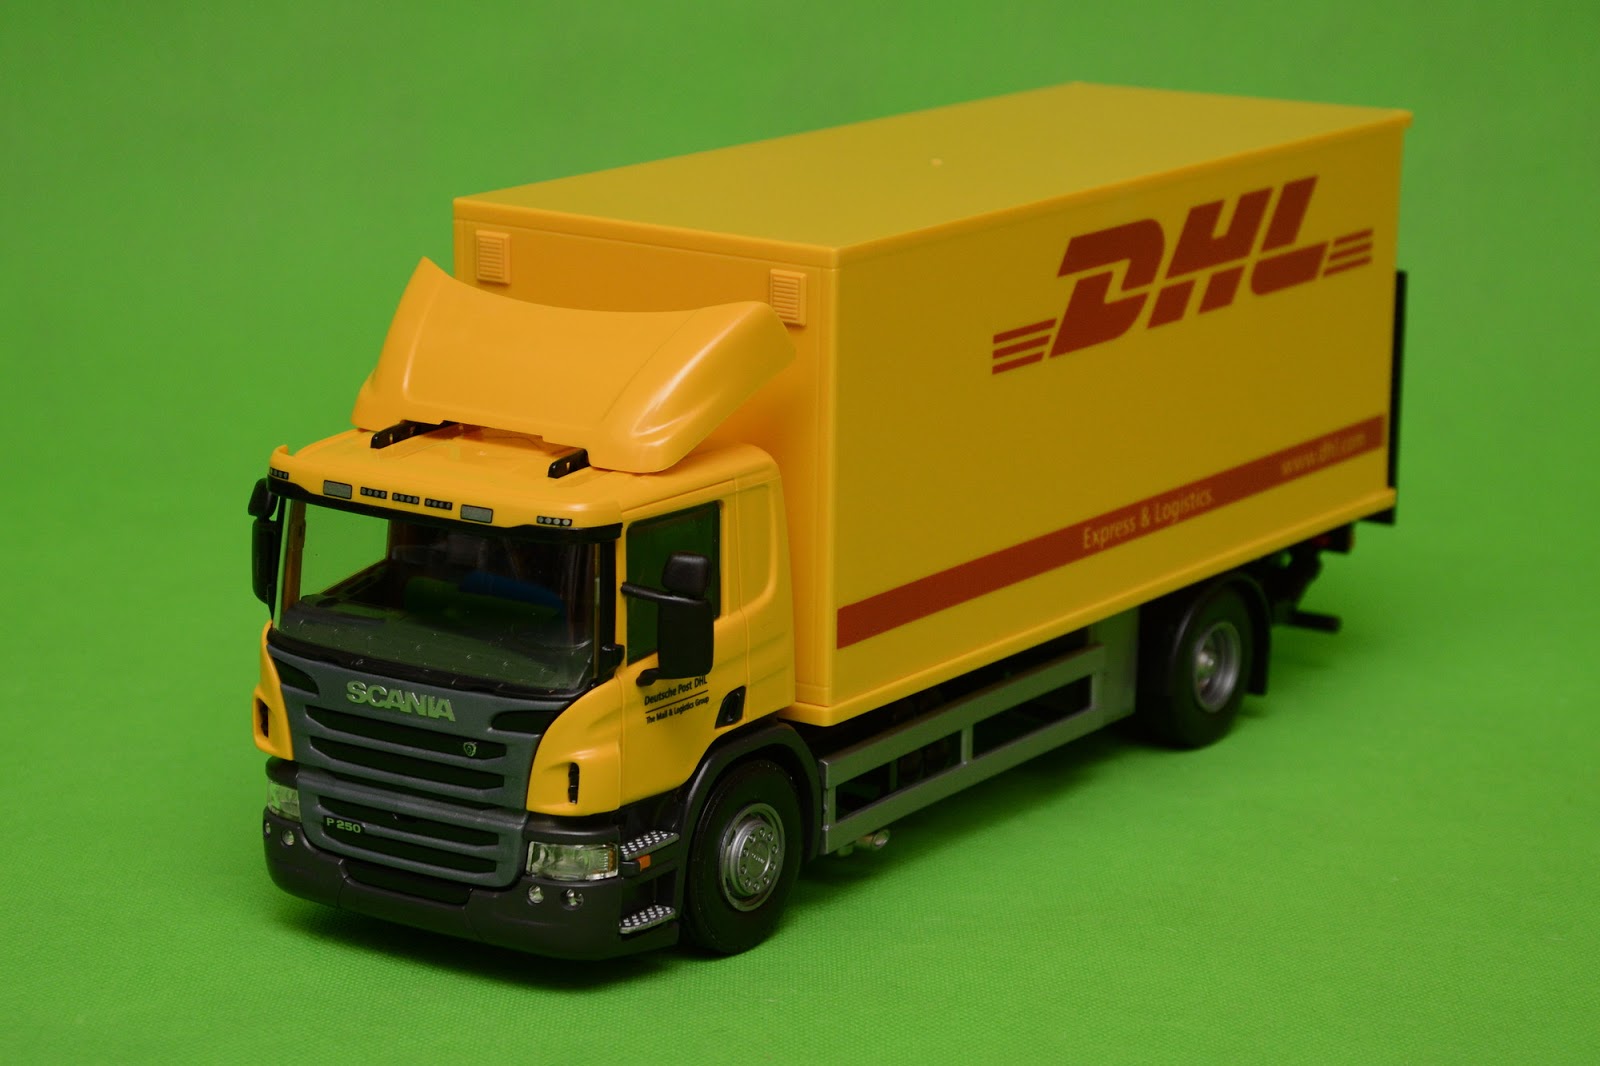
The model is made by a Finish company called Emek. Its scale is 1:25 and it's supposed to be a replica of a Scania P DHL distribution truck. Its catalog number is 89509.
Let's open a box. There are a few surprises here...
First of all - the box is rigid and I was convinced it was made entirely of plastic. This is not the case. The box is actually cardboard with a plastic front only. I'm pleasantly surprised this kind of a container can feel so sturdy.
Second - there are plastic rods installed in the back of the packaging which keep the model in place. This prohibits the truck from moving during transport. No wonder the product arrived in perfect condition.
And a cherry on top - the bottom surface of the box has a road painted on it. I did not even notice it at first and it does not really bring any value, but it's definitely a nice final touch.
The set comes with some stickers (and an installation guide) and two plastic parts which will mimic the side mirrors of the truck. I'm not sure whether those are supposed to be attached using glue or not, but I decided to use some.
I've skipped applying the stickers assuming (possibly wrong) they're not weather resistant. No other construction steps are needed - the model is ready.
The first impression of the car is very good. I love the level of detail it offers and it definitely looks much more like a collectible than a toy. It is quite heavy but unfortunately is made exclusively of plastic. There are no metal parts and even the tires are not rubber.
Let's see some more photos.
The above pictures show very well how accurate the model is. The outside of the cabin combines many small parts and clearly displays important elements such as steps, lights, grill and labels. It almost looks like a real-life car!
The truck offers some moving elements, too. The back door can be opened and its tail lift can be extended and lowered using a life-like plastic mechanism. It looks great and brings many possibilities for using the model on the layout.
There are some details inside the driver's cabin but the chauffeur himself is not included. The model's underframe consists of several smaller parts in different colors and definitely adds to the overall look. The paint job is crisp and flawless with easily readable letters and logos.
Summary
The model is gorgeous. I really love it that much. I just wish it wasn't made of plastic only. My biggest concern is if it's weather resistant at all. If not, its beauty will fade away quickly. But if it performs well outside, it will surely make my layout much more attractive. And if you have an indoor layout - there's really no reason not to give it a try.
The water pond on my garden layout was always supposed to look alive. I was even considering having some real fishes there but... they turn out to require a pretty deep container. Then I tried growing some water flora but... everything I planted died within a month. OK, so how about something easier? Maybe just a plastic water-themed building?
The model I found for this purpose is Piko 62262. It replicates a small fisherman's house built upon a jetty. The front cover of the box shows a very nice scene with a lake, boats and even a small outhouse in the background. If I was able to achieve this look, it would be really great!
As usual, everything is very nicely packaged. None of the pieces got damaged in the transport. Surprise, surprise - the glue is included!
So many similar looking parts. I guess this must be the platform and the support elements. Looks like a lot of repetitive work for me.
And here are the building pieces. Yes, it is really going to be that small. But that's OK, it's exactly what I was expecting.
Are those all the parts? No boats? No outhouse? No accessories?
The manual explains it all. Yes, the set is just the building and the platform. No other structures are included, so I'm not getting the front cover scene look that easily (or cheaply).
The extra elements included with the set are:
a lot of colorful stickers
white plastic base for the stickers
transparent film a.k.a. window glass
two tubes of plastic cement
Let's start the build. The pier is made of three identical rectangular platforms. Several "planks" join the elements together and it makes a solid impression overall.
The "wooden" fence is the next step of the build. It will be installed on top of the jetty.
The two parts are now connected together. It's starting to look interesting!
It's time to take care of the small house. There's not much to do here. Just four windows (transparent film) and a door.
Once the roof is installed on the top, the building is complete. The door open to the outside and they are protected from "falling inside".
The complete model. The pier, the fisherman's cabin and the stair.
The only remaining element are the stickers. I have to say I'm not convinced they fit this model all that well. But let's try to add some of them anyway. I'm aiming for a "neglected look", so I'll try to install the decorations like I didn't really care...
Here's the final result:
Summary
I have to admit the model is rather simple, and the building part is really small but it's also very original and eye-catching. It should fit the water scene I'm creating very well and I'd love to try it already. This will have to wait till spring unfortunately...
I'm still not convinced about the stickers - they're just too colorful and I consider them disturbing. Hopefully they'll look better after they get some natural weathering. So I'm keeping them for now.
If there's anything I'm disappointed about it's the complete lack of accessories. I didn't really expect to get everything shown on the box but at least one boat and some fishing equipment would be very nice. The boat is actually available as a separate product Piko 62283 but it's priced at 24 Eur which is "a little" too expensive for my taste.